Anyway, back to the project at hand. I needed to make letter forms, so I started by printing out the letters in a basic font so I didn't have to worry about as many curves. Then I cut them out as a template.
Notice that workbench? I finally got around to checking out the Base wood shop. It has everything I could imagine and I'm thrilled to be in there knocking out projects instead of just dreaming them. I traced the templates onto some 1/4 inch oak (I would have used the cheaper poplar or pine but I need some wide boards for another project and oak was the only one that met the criteria...yep, another project) and used the band saw to cut them out. I had to use a skill saw to cut out the middle bits of letters like the R and D and A. Then a touch at the sander and I was ready to upholster.
I traced the patterns upside down on some light weight batting and cut them out.
Then I laid out the fabrics I had picked and figured out which fabric would go on which letter.
Then I cut around each letter so I had about an inch and a half all around. (I will caveat here that I am no upholsterer, I just did the best I could)
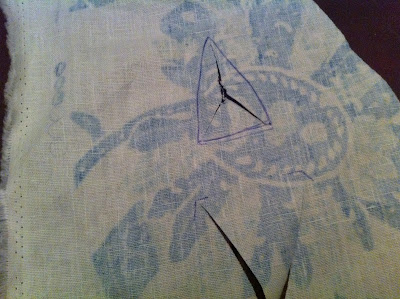
Anywhere there was an inside corner, I marked it so I could cut at an angle to the corner to get a good fit.
Then I wrapped the fabric over the wood and batting and used a staple gun to attach it to the back. Then we had a problem:
See how high those staples are? Nothing I did seemed to help either. I messed with the torque on the staple gun, I made sure it was good and horizontal. Even when it was flush, the staples were all messed up (notice I switched to a scrap piece of wood and fabric while we worked out the kinks):
But that was pretty low at least, and it wasn't going to show, so we went ahead. I ended up buying an electric staple/nail gun for the later letters. So I basically wrapped each letter in fabric and tacked it down.
Not bad, huh?
For the interior areas, like the A below, I cut a line on an angle to each corner.
When they were done, I used the glue gun to touch up all of the edges to make sure everything was down nice and tight and the edges wouldn't fray. Then I hung a string up on the wall and used clothes pins to clip them into place. I was worried they might be too thick for the clothes pins, but it worked out fine.
I still plan on painting in there, and I want to replace the white twine (that disappears into the wall) with a more substantial burlap twine.
So what do you think? Did I pick the right word? Any of those fabrics stand out to you? Do you have a favorite?


How creative! I like it. To me the N fabric stands out the most but I wonder if it's not partly because the N is in the middle?
ReplyDelete