Monday, October 3, 2011

Pump it up Part 1: Paper Pumpkins

Our house does not lend itself well to fall colors, so I made some fall pumpkins that were more to our decorating taste.  Total cost for the 2 was around $14.


I got some white pumpkins at the local Michaels while they were on sale.  They also had black and standard orange if those work better with the paper you choose. 

For the smaller size I used 2 sheets of scrapbook paper and for the larger pumpkin I used 3 sheets.

I think it works better with paper without a geometric type print, (ie: no real pattern) but that's just my opinion.  

I started by cutting the paper into strips, widths of around 1.5 to 3 inches, no real exact science to it:


 I used outdoor mod podge and coated the back of a strip using a paintbrush to adhere it to the pumpkin.

Then I slathered on the mod podge over the paper so that it was good and covered.

Having the paper be moistened helps the paper fit down into the curves and indentations.  I used the paintbrush handle to smooth out the bumps and air bubbles at first.

I ended up finding that it was easier to use my fingers though...which I couldn't take photos of because...well, my hands were covered in mod podge.

Rinse and repeat, and repeat, and repeat til the pumpkin is covered. 

I put the pumpkins up on some small glass bowls so that I could reach the bottom more completely.  When the paper is wet, if it adheres to something else, it will damage the paper, so you may have to work on the top first, let it dry and then work on the bottom separately. 

Let it dry and then put a few more coats of mod podge over it to get it good and sealed.


If you try it, send me a link to the photos!  I'd love to see what you make!

Thursday, September 29, 2011

Gettin Jiggy Wit it - How I made a wooden puzzle

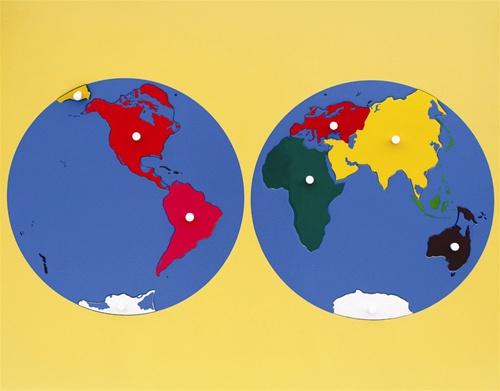
Many of the activities we do in our Montessori home school classroom require little investment, since they use things we already have.  But from time to time, an activity calls for something that we don't have and that isn't particularly easy to make.  Usually we head over to Alison's Montessori (their link is here) and just bite the bullet.  But when we started doing our continent study (see the globe we made here), I was loathe to spend almost $50 on a puzzle that Bella's only likely to use a few times.  This is the puzzle in question:

The curriculum suggested creating this out of foamboard if you didn't want to buy it.  But if you've ever tried to cut foamboard...particularly if you've tried to cut foamboard accurately...you know that it's easier said than done.

Since I recently discovered the wood hobby shop at Camp Lejeune, I decided I wanted to try to make one myself out of wood.  I had already used the bandsaw for my laundry project (see that here), but this involved using the scrollsaw, which is able to make the much tighter turns required for this project.  This whole thing was made even more daunting by the fact that I only had one shot at the cuts.  If I messed up, I could go back and trim a little bit more off, because the pieces had to fit together like a puzzle.  I got to practice with the scrollsaw when I did the areas on the inside parts of the laundry room letters (like 'A' and 'R') and it didn't really go so well.  I managed to break a blade and give myself quite a scare in the process (it's loud when a blade breaks).  So I was very nervous going in.

The first step was to put the outline of what I was cutting onto the wood so I had a guide to work from.  I started with some cutouts of the actual puzzle.  I blew them up so they were close to 8 inches wide.
See that black stuff in the photo?  That's carbon paper. (How many of you had no clue?  Seriously now!)  Carbon paper (for the young whipper snappers) is coated on one side.  When you press down on it, you push that coating onto the surface under it.  So...if you put a piece of paper on top of it, and a piece of wood under it, and then trace over the outlines, it leaves the same outlines on the bottom wood.
Like this:
You can see that, for sanity and utility reasons, I approximated some of the edges.  This ended up being fine since I was going to paint it in the end.

The wood here is about 1/8 inch thick.  This is oak because that was what the wood shop had that was wide enough.  Then I took it to the saw and started cutting...very carefully.
I'm not gonna lie, it wasn't easy, but I did settle into a rhythm by the end.  I technically could have avoided the cut marks from the edge to the cutouts by drilling a tiny hole and threading the saw blade through it, but I was worried about leaving a drill hole in one of my pieces, so I decided to live with the cut marks.

I didn't want the pieces to slide through the cutouts into nothingness though, so that meant putting the wood with the cutouts onto another solid piece.  I sanded the edges of the cutouts prior to this to make sure the edges weren't sharp.

Then I used some wood glue and glued the piece with the cutouts onto the solid piece and I clamped it together.

Even with these 4 clamps, the inside areas started to curl up after I left, so the wood shop guys put some bigger clamps on all over it to make sure it didn't get ruined.  Whew!

Then I painted the oceans and islands, sanded the puzzle pieces, and painted them so they matched the colors of the continents on the globe (see that here) and on the continent folders (more on that soon!).

Here is the finished product:


I decided I sort of liked seeing the grain of the wood through the paint, so I only did 1 coat on the oceans.
I used the carbon paper again to get the exact outline of the continents onto the pieces (as opposed to the pretty vague outlines that I cut out). I also painted the names of the continents under each one on a last minute whim.

Many wooden puzzles have little knobs to pull out the pieces with.  I had bought some wooden push pins to use, but then I decided I liked it better with no knobs.  We just have to turn the puzzle over to dump the pieces out.

So, what do you think?  Would you ever try making something like this?  Does the thought of cutting foamboard overwhelm you too?

Wednesday, September 28, 2011

How Low Can You Go...With Pendants!

Ever since we saw the kitchen in this house, I knew I wanted to try out a conversion kit to turn some of the pot lights over the island into pendant lights.

I even had a bunch of options laid out on a design board:

I had originally decided on N for the pendant lights, because my grandmother had a bunch of the blue insulators.  Alas, she only had one with the wide bottom (which wouldn't have been a big deal because they aren't very expensive), but the bigger problem was that the size of our island just dwarfed the poor little insulators.  If we were hanging a bunch in a row, or something like that, it might work, but we're trying to go relatively easy on ourselves, therefore, we had 2 can light openings.  What we ended up getting was a mix between J and L.

First for the kit itself:
We picked up two of these guys at Lowes for around $19 each.  You buy your own shades separately to make it easier and they have a great selection.
So, inside, you basically have the light socket that the pendant goes on, a long cord that you can pull up or down so it's at the length you want, the light socket that takes the place of the can light bulb, and a cover to hide the opening.


So out came the light bulbs and I had to figure out how much cord to pull (or not pull) through the gap.  I looked it up and apparently the correct height is between 30 and 40 inches above an island.  It just so happens that when I first eyeballed it, it was exactly 30 inches above the island with the cover in place:
  It seemed a little low, and Vinny agreed, so we decided to move it up about 2 inches (Cause we're all rogue like that and 32 is so much cooler than 30).  So once I had the wires set in place, I just needed to tighten down the rubber holder to keep it in that position (no sliding around misters!)
Kind of tiny little thing.  It took a 1/8 inch flathead screwdriver and the manual (which I actually read) suggested not over tightening since you could basically tighten it through the wires if you tried hard enough.  So, no big muscles, just a little tight.  

I measured the second fixture so the wires would be the same length and therefore, the pendants would be at the same height.  I wish I could say I got it perfect on the first try, but I was off a little (because I forgot to tighten that nut til I was standing on the island).  The good news is that it was really easy to to correct.  

So, with the glass shades screwed into place, it was time to put in a light bulb and admire the handywork.  

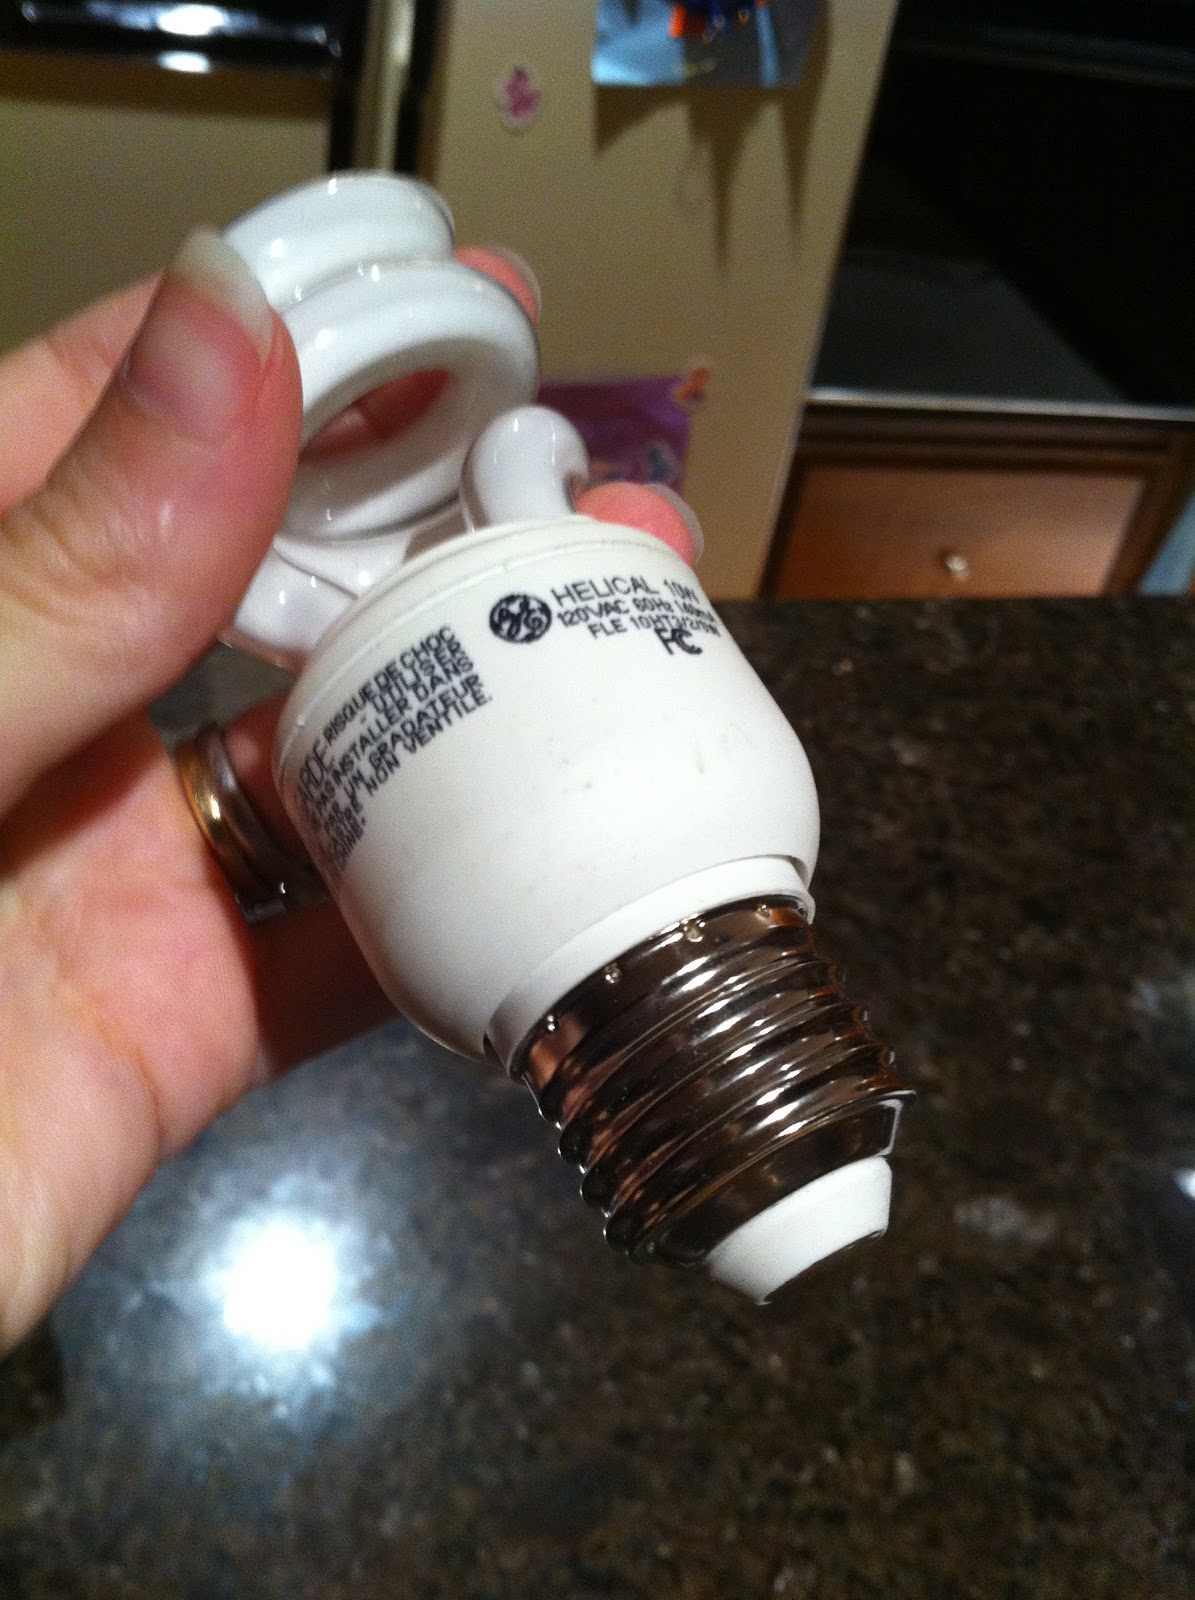
Ran into a minor snag...the new bulbs are the smaller candelabra bulbs, not regular lightbulbs.  Fortunately we had a breakfast nook light that was willing to donate 2 of its 8 candelabra lightbulbs. (Yes, it had 8...in one light...overkill much?)

 
Then, the big reveal:
It gives off an awesome blue glow and it amped the kitchen up so much.  My only regret is not doing it the first day.  Total cost with the shades was around $30.  Not bad.  You can get kits that already have the shades, but I like the versatility with the Lowe's version.  Though I worry the people there might think I'm living there....I digress.

What do you think? 

Monday, September 26, 2011

Cleaning house sucks, but it's more fun with friends

I'm so glad that Bella is in a phase where she loves to help.  As much as I hate housework, it is much more fun when you have a sidekick like this:

Friday, September 23, 2011

Onslow County Partnership for Children

We have been hearing lots of good things about the Onslow County Partnership for Children, and we finally managed to get over there and check it out.  It was all we had hoped for and more.

There were two smaller areas at the front with books, costumes, doll houses, puzzles and games that you can play with there.

Then an arts and crafts area where you can do projects with your kids.

An area with die cut machines, and tools for parents and teachers.

And in the back, box after box of themed learning activities.  

You can go in and play for free and you can check out up to 8 items that have barcodes.  A book could be a single item, or one of the huge tupperware containers could be one item.  You are allowed to keep each item up to 30 days.  If you want access to the crafts, you can get an enhanced membership for $25 a year.  With that you can use everything in the center and you can check out up to 15 items instead of just 8.  There are additional fees if you want bulletin board paper, poster board, or laminating, but the die cuts and all craft supplies are included.  

I was thrilled to find some activity boxes that had to do with plants and seasons (which are our current focus) and a few fun things too, like alphabet circles for the floor, felt mats with things to arrange and rearrange, and a princess and the pea stacking game.  Anyone in the eastern NC area with kids or those who teach should really check it out.

Wednesday, September 21, 2011

Bella's Beloved: Gymboree Bubbles

We've used just about every brand of bubble out there.  But our favorite by far are the ones from Gymboree.
Not only is that bubble wand amazing (with any brand of bubble) because it makes tons of little bubbles that are fun to chase, but the bubble solution itself is great.  The bubbles are just stronger than regular bubbles.  The upside being that you can catch them (if you're gentle) and they stay in bubble form when they land on something.  The downside is that sometimes you find bubbles a week later.  But we've restricted bubble blowing to the back porch, so that's not too bad.  And it's good for some extra laughs sometimes, like when bubbles somehow find their way onto the inside of a pair of glasses.


Monday, September 19, 2011

House Tour: Dining Room

I realized I never finished our little house tour, so I'm going to try to finish it up.  First up, the dining room.  It used to be in the center of our home and we were in there all the time.  Now we pretty much live in the kitchen and living room and the dining room is rarely used.  Or rather, it's mainly being used for projects where we need more space...like, say...upholstering letters (for this project)?

(BTW, if you want to see the other rooms, go here for the master bedroom, here for the guest bedroom, here for Bella's bedroom, here for the foyer, and here for the classroom)

This first shot is a look from the dining room out to the foyer, where our buffet went to live in order to open the dining room a bit more.


This is the opposite view, with me standing in front of the buffet and looking into the dining room.  It has great double french glass doors, but they stay open all the time because Bella likes running through the house.  You'll also probably notice here that the table isn't centered under the chandelier.  There was a lot of discussion about this on.  With the table centered under the chandelier, the chairs by the china cabinet were pretty smushed and there was very little room to get by.  Since we walk through that room a lot...we decided instead to center the table between the china cabinet and the far wall.  It stands out like a sore thumb in photos, but it lives nicely and that's more important.


We have some nice windows in that room as well.  They are sheltered by the front porch, so they don't make the room hot or anything, just open it up.


We don't mind the striped wallpaper, it's one of the more subtle ones, and given how little time we spend in there, not even close to the top of the list.  The painting on the left wall there is one of my favorite though, done by Ian Greathead (his website here) on commission.  You might also take note that we only have 4 chairs in there.  Right now, we're using the other 4 around the table in the breakfast nook until I get around to building some benches for that table.

So there is the dining room!  What do you think?